How to assemble a Forest Garden shed |
||||||
 |
||||||
 |
||||||
| Sheds vary greatly in size and design, and this page is just a general rough guide to assembly. It's essential to closely follow the manufacturer's supplied instructions for the best results. If you are not completely confident in your DIY skills you may prefer to pick the professional home assembly option when ordering. Manufacturers Forest Garden will then contact you and arrange a time and date to erect the shed. A team is usually sent out to put it together it a few days after delivery. | ||||||
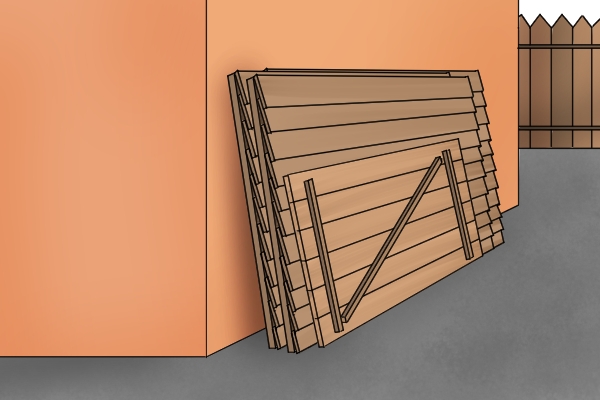 |
Unless you have chosen the professional home assembly option, your shed will be delivered flatpacked. The tools required to erect the shed are: a spirit level, tape measure, drill driver with selection of Pozidriv bits, a lump hammer, stepladder, claw hammer and sharp utility knife. |
|||||
 |
||||||
| The shed will be supplied as a set of individual panels ready to screw together. This makes the build relatively quick and easy, and two people with some basic DIY ability should be able to assemble it in the space of a few hours without too much difficulty. | 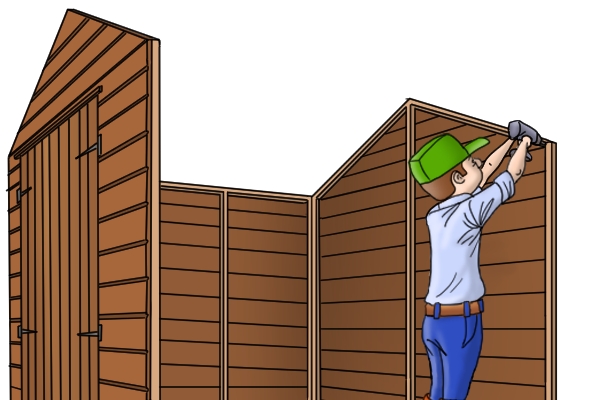 |
|||||
Before you begin |
||||||
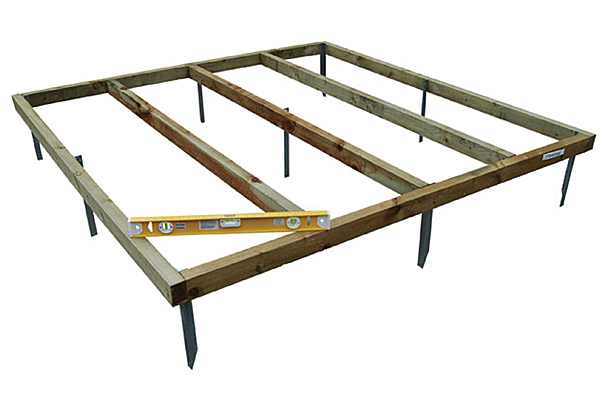 |
Get the basics rightMake sure the base is ready and in the right place. If you don't have a suitable concrete or paved area to put the shed on you can buy a from Wonkee Donkee Forest Garden for certain sizes of garden bulding, but you will have to assemble it yourself. For more information see: How to assemble a timber base kit. |
|||||
Enlist a helperDon't try and tackle the job on your own - you need a second person to help lift the heavy panels and make sure everything is lined up correctly. |
 |
|||||
 |
Do your homeworkHave a good look through the instructions and familiarise yourself with all the components before you start, particularly small parts such as nails, screws, hinges, brackets and door fastenings. Is everything there? Do you have the right drill bits to fit the screws? |
|||||
Erecting the shed |
||||||
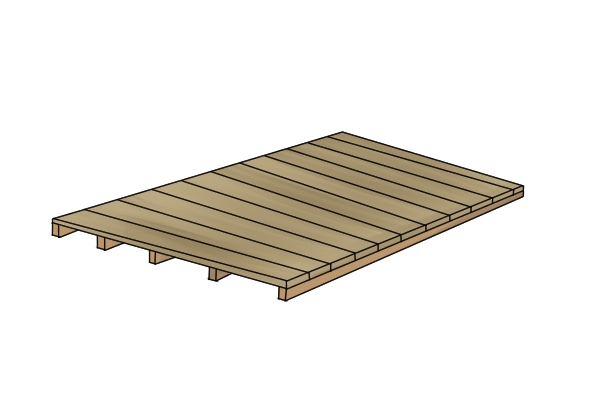
Step 1 - Position floorPlace the floor of the shed squarely onto the base. If you're using a wooden base, it's advisable to attach the floor securely to the base using the 100mm galvanised (zinc-coated) screws provided. |
 |
|||||
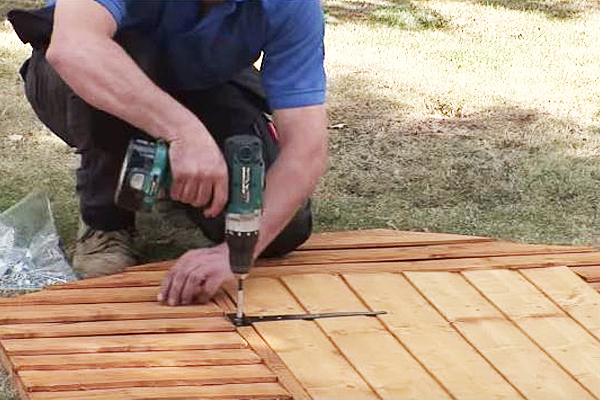 |
Step 2 - Attach hingesPlace the panel that will hold the door on the ground with its face uppermost. Lay the door inside the frame and attach the hinges with the screws provided, ensuring that the barrels of each hinge are positioned on the outside face of the door. |
|||||
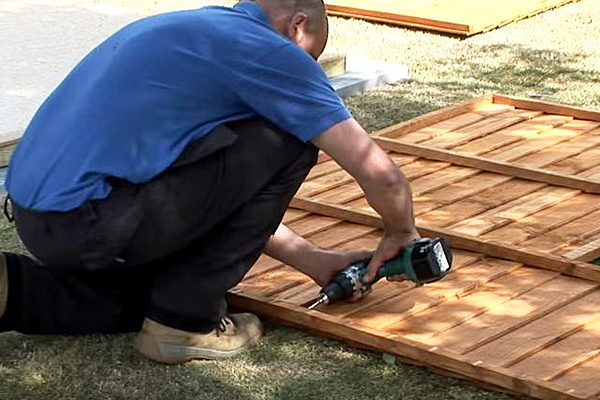
Step 3 - Make pilot holesWith the shed sections still flat on the ground, drill three pilot holes (known as pre-drilling) at the top, middle and bottom of each side panel. These are small starter holes that will help stop the wood splitting when you insert the screws later on. |
 |
|||||
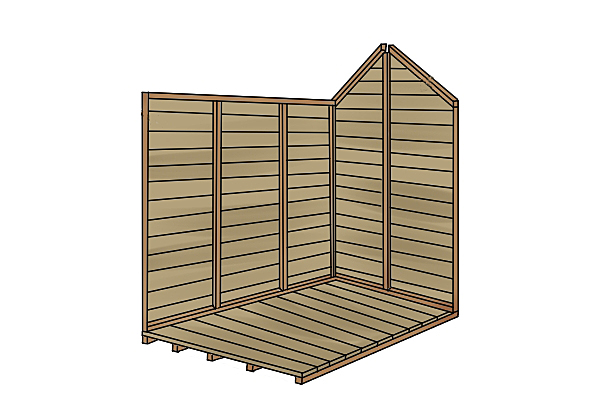 |
Step 4 - Fix panels togetherLift the back section into place and bring one of the side panels up to meet it. Screw these panels together through the pilot holes you made in the frames earlier, and attach with the 50mm countersunk screws provided. Prop these two sections against each other so they can stand on their own temporarily. |
|||||
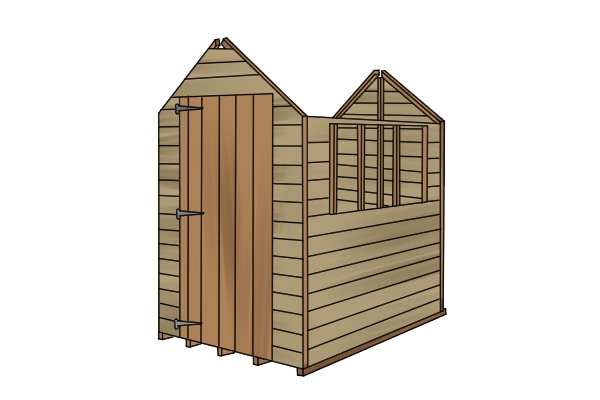
Step 5 - Fit door and second side panelUsing the same procedure, fit the door and other side wall, ensuring they are level, flat to the floor and completely square. At this stage, the shed should be rigid enough to stand unaided. |
 |
|||||
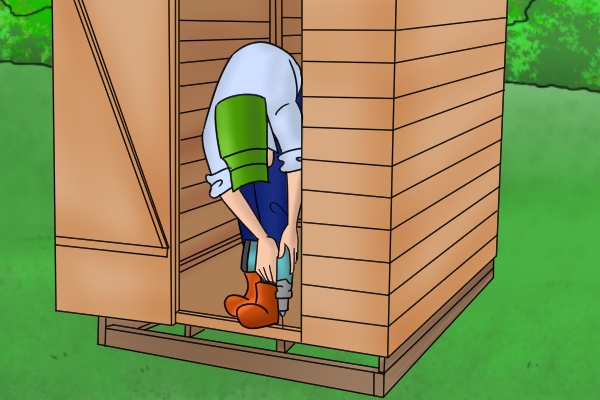 |
Step 6 - Fix walls to floorDrill pilot holes through the bottom frames right through to the timber floor bearers underneath the shed, then attach the framework to the base with the 50mm screws provided. |
|||||
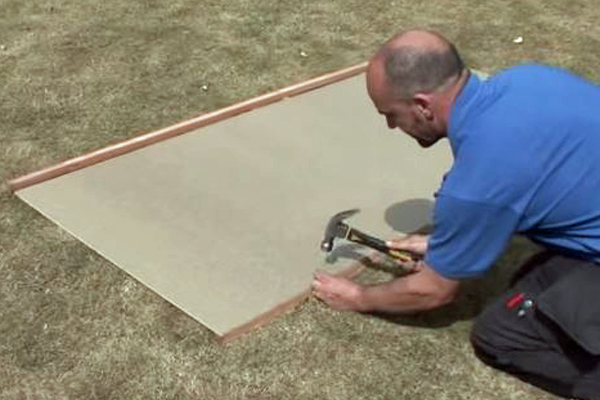
Step 7 - Prepare roof panelsLay one of the roof panels on the ground and attach a wooden batten using evenly spaced nails at 300mm intervals. There may be more than one size of batten included in the pack, so make sure you use the right one. If it's an apex shed, the roof will come in two sections, whereas a pent shed roof will normally be made up of a single piece. |
 |
|||||
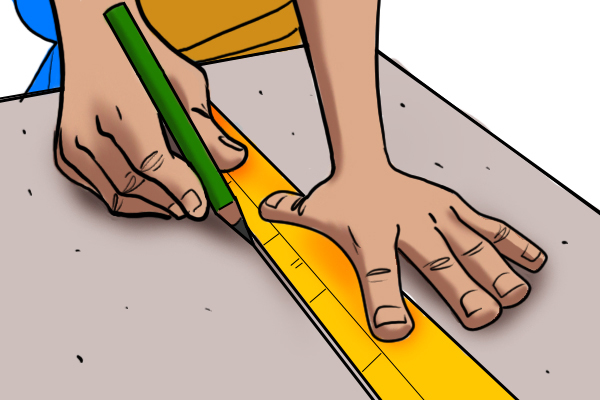 |
Fix a second batten to the other side of the roof panel, making sure it's offset (set back from the edge). The exact distance from the edge will vary according to the size of shed, so check your instructions and measure carefully to get the position just right. Repeat with the second roof panel. |
|||||
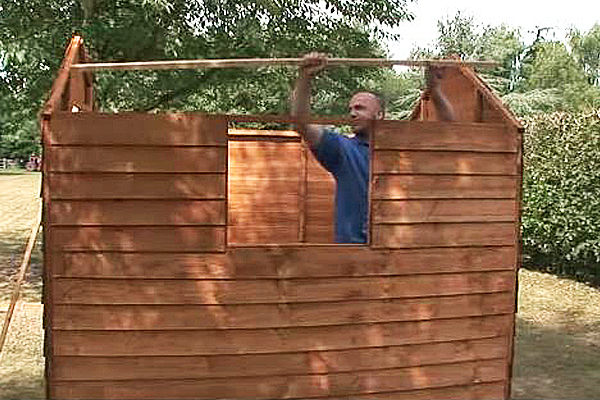
Step 8 - Attach roof battensTake the two slightly shorter roof battens and attach a 'z' bracket to both ends using the 35mm screws provided. Fix these battens to each gable end about halfway between the ridge and eaves of the shed, checking your instructions for the exact position. |
 |
|||||
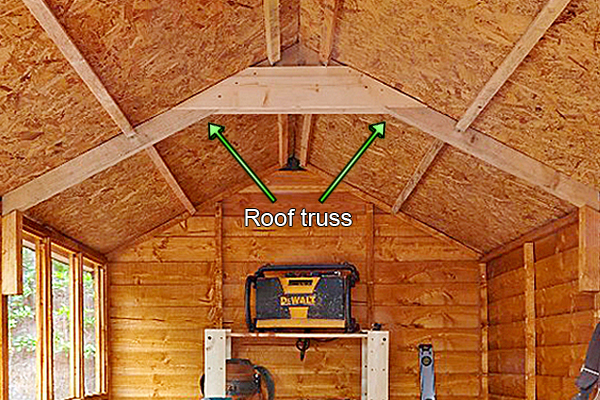 |
Not every shed is the same. If you're assembling a workshop you'll need to add a truss and additional battens to ensure sufficient support for the roof. You may also find that the building is supplied with four roof panels instead of two - just follow the manufacturer's instructions. | |||||
 |
||||||
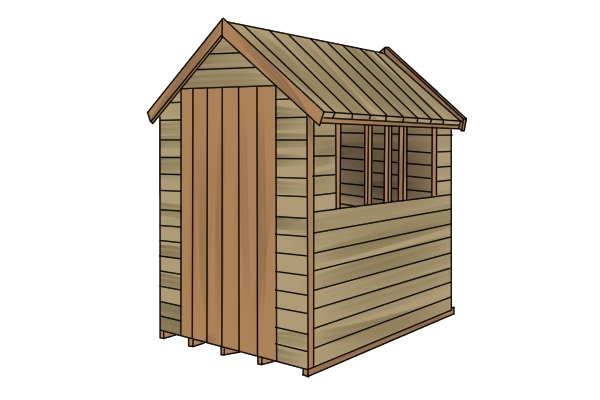
Step 9 - Position roof panelsLift up the first roof section and push it into place, making sure the offset batten sits securely in the notches in the top of each gable end. Attach to the sides and gable ends with 30mm nails at 300mm intervals, then do the same with the second roof panel. Ensure the sections sit evenly over the shed, leaving equal overhangs. |
 |
|||||
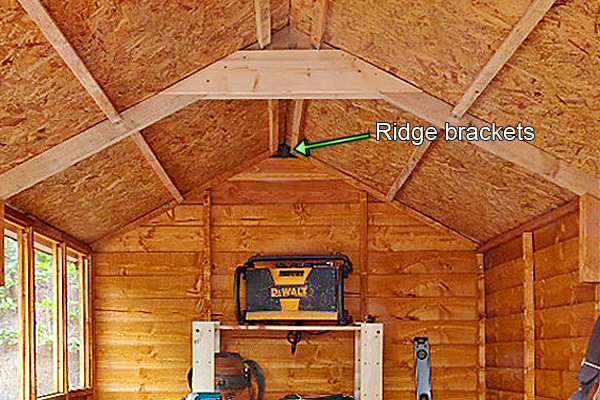 |
Step 10 - Secure roof panelsOnce both roof panels are fixed in position, you need to secure them together from the inside of the shed. Fix them at the highest point with the ridge brackets provided, using 30mm screws. |
|||||
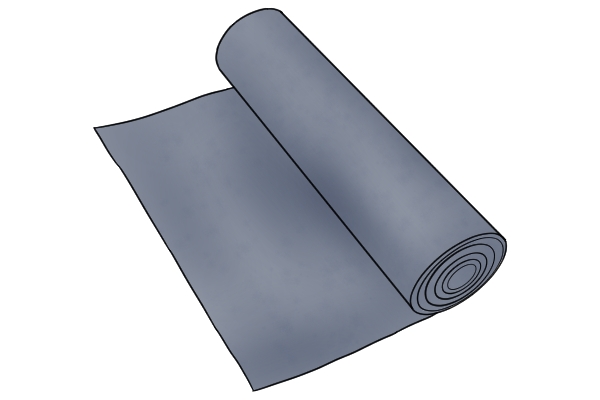
Step 11 - Add roof coveringUnless your shed comes with an Onduline or zinc roof, you will now need to add felt. This may be delivered already pre-cut to the right size - it depends on the type of shed you have chosen. |
 |
|||||
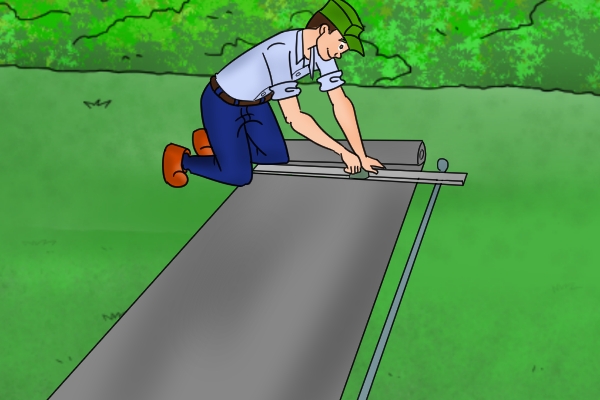 |
Cut feltIf the felt is not pre-cut to size, you'll need to cut it to length yourself. First roll out the supplied roofing felt on a clean patch of grass. Measure it out, then slice into three equal lengths with a sharp utility knife. |
|||||
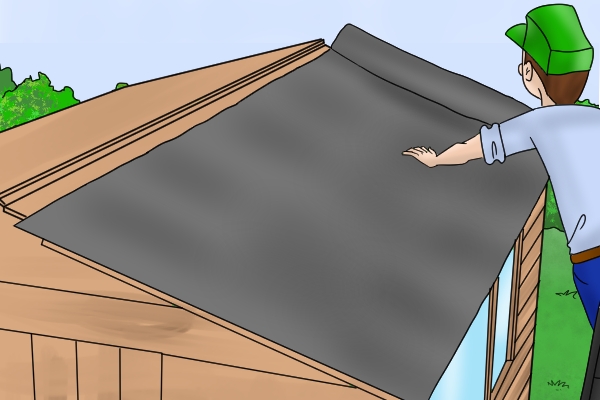
Lay felt on roofPlace one of the pieces of felt along the first roof section, allowing equal overhang at both ends and about 40mm overlap at the eaves. Handle the felt with care to avoid tearing it. Tap a small roofing tack through the felt at the top to keep it in place. |
 |
|||||
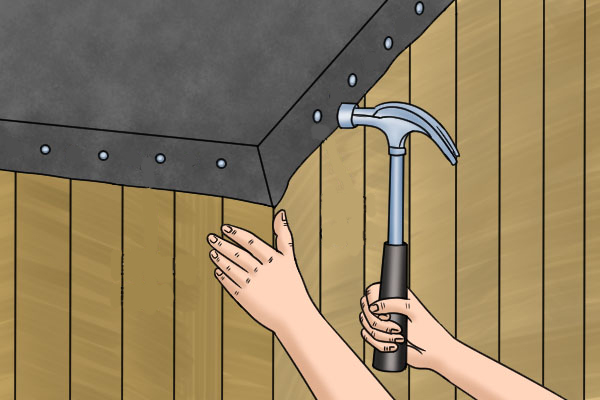 |
Secure felt to eavesFasten the overhanging felt in place all the way along the eaves using tacks spaced at intervals of about 150mm. Repeat the process on the other side of the roof. |
|||||
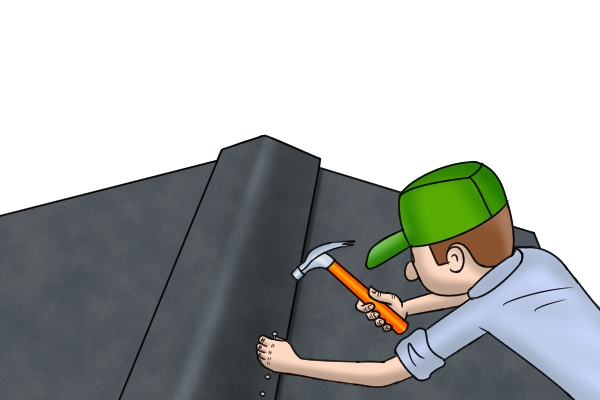
Lay felt over ridgeLay the third length of felt along the ridge of the shed, leaving equal overlaps at the gable ends as well as on each side. Secure the felt in place over the top of the other two strips with the roofing tacks. |
 |
|||||
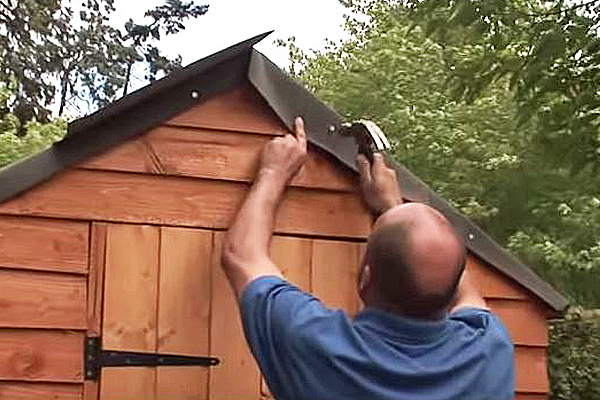 |
Fold and tack feltWork your way round the eaves, tidying up the corners around the edge by folding and tacking the felt where necessary. At the front of the shed, make a small slit in the felt at the apex, then fold it down and tack on either side. Repeat at the back of the shed. |
|||||
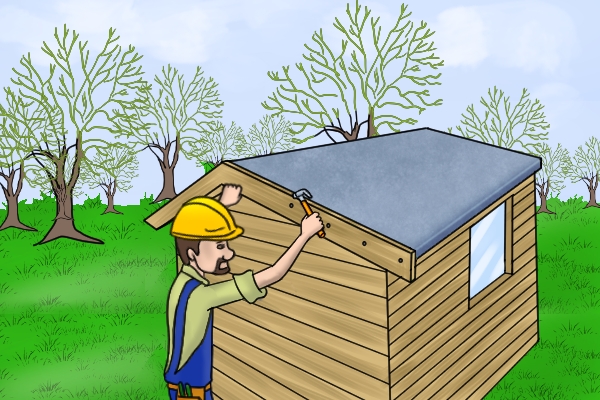
Step 12 - Attach bargeboardsFix the bargeboards (also known as fascia boards) to each gable end with the nails from your assembly kit, and trim off any lengths of felt left sticking out. Tap the corner cover strips into place with the nails provided. |
 |
|||||
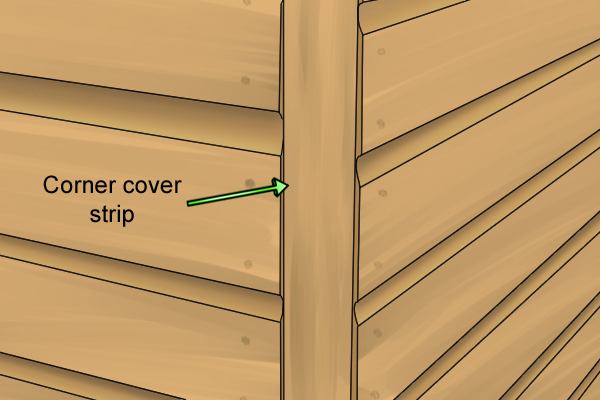 |
Step 13 - Attach corner cover stripsNail the corner cover strips into place down all four corners of the shed so that they cover the joins between the panels. This will help protect the ends of the wall timbers from the weather. |
|||||
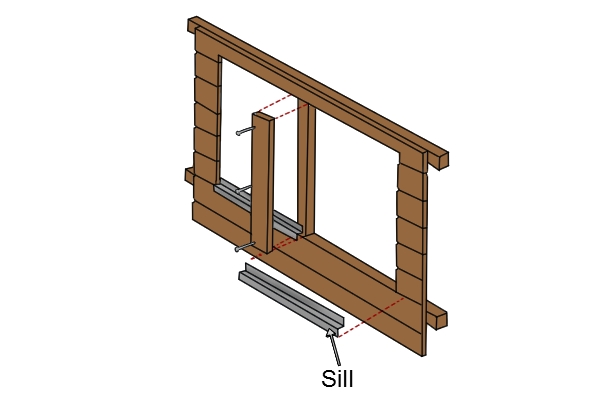
Step 14 - Fit acrylic window panel (if applicable)From the outside, position the plastic ‘z’ sill strip across the ledge of the window. Carefully slide the acrylic sheet complete with its protective film into the window recess. |
 |
|||||
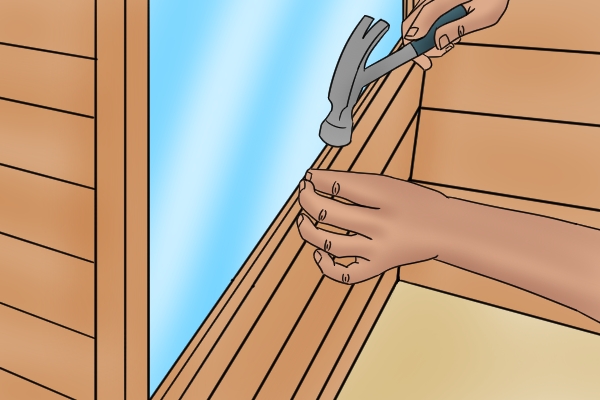 |
Step 15 - Fix beadingPosition the window beading so that each section sits flush and keeps the acrylic sheet tight. Nail the beading into place with 25mm (1") glazing pins, then lightly score all around the window pane with a craft knife before taking off the protective film. |
|||||
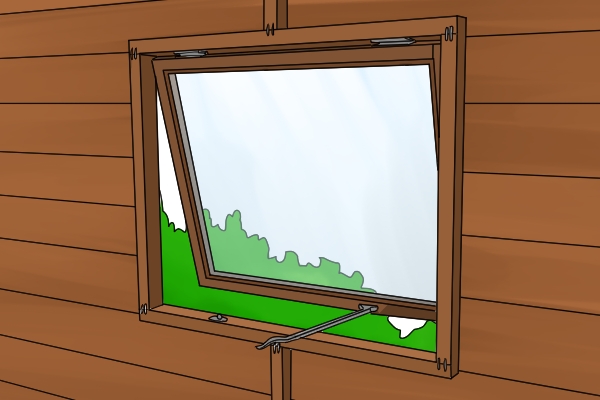
| If your shed has an opening window, you need to fix the two cranked (angled) hinges provided to the top of the window so that it sits in the rebate - the rectangular recess that runs along the top edge.
Attach the smaller section of the hinge to the window using 25mm screws, then open up the hinges and fix the remaining part of each hinge to the top of the window panel, again using 25mm screws. |
 |
|||||
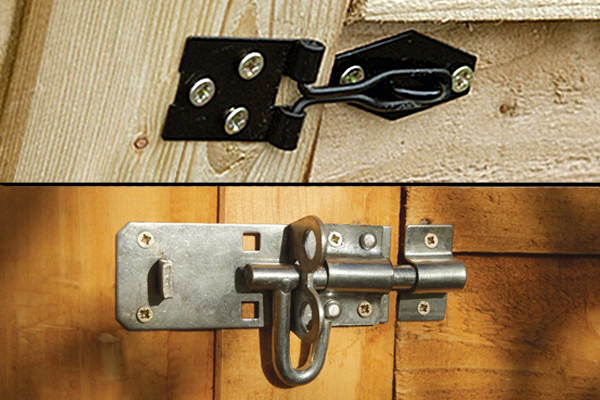 |
Step 16 - Attach door fastenerThe door fastener is mostly likely to be either a pad bolt or hasp and staple, depending on the model of shed you have chosen. In both cases you have to fix them in place with the screws provided. It's worth taking the time to make sure both parts of the fastener are absolutely level before tightening the screws, to avoid any problems securing the door in the future. |
|||||
| Premium Forest Garden sheds in both apex and pent roof design may come with a door handle and a rim lock and key for extra security. These need to be assembled and fixed into place with the screws provided, following the instruction sheet. | 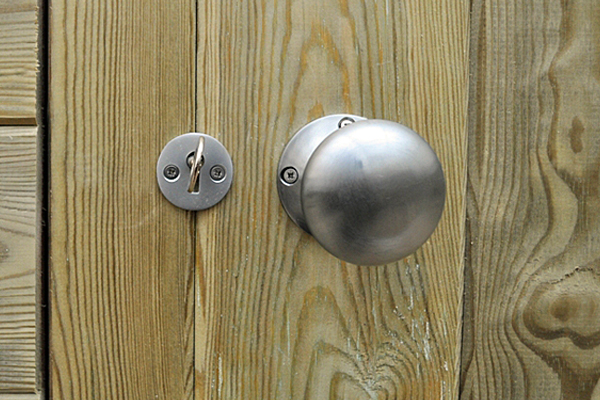 |
|||||
| For more help and to gain a clearer understanding of what is involved in putting up a timber shed, take a look at this instructional video made by Forest Garden. | ||||||
 |
||||||


